You'll be surprised how simple it all is. One of the best things about drawing is that you can start right away with a sizable investment.
I took some pictures of the drawing tools that I use for my drawings on site. Since I am currently living in Japan, I only have Japanese drawing instruments and I can tell you they are fantastic.
These products are made with such delicacy and good sense for details. All I can say is that Japanese products are still one of the greatest qualities in the world, if not the highest, and this is not an exaggeration.
If you have the opportunity to buy stationery for the Japanese, it does. You will not regret.
1. Sketch Book or Drawing Book

click on the image to enlarge
If you are only exercising choose the simplest and cheapest sketch book for children. It is usually available in many formats. I would recommend starting from B4 format because you can make many drawings, sketches and studies on one single page.
If you do not have any sketch book available, you can also draw on the back of an envelope.
For practicing it really doesn’t matter. The important thing is that you draw and thus train your brain to function in relaxed mood.
Tracing Paper
Tracing paper is mostly used in technical drawing and architecture but you will find it very useful if you want to make an exact copy of a picture.
The A4 size of tracing paper will be excellent for your drawing and sketching work. I can tell you, that working by tracing paper is an excellent exercise to catch the shape of the picture.
If you do not have tracing paper available at hand, put the picture you are going to trace on the window in your room, fix it by tape on each corner so that it won’t move and place the blank white paper over it, also fixing the blank paper by tape on corners.
The picture will reflect from the bottom up and you can trace the picture on the blank paper. Since this requires you to work in standing position on the vertical flat surface, you may feel slight tiredness in your arms. In such case just stop drawing for a while, relax and continue later.
Working with tracing techniques is very helpful, because often you need only to grab the outlines of the drawing, by other word to get the correct shape and the rest is only a kind of coloring page work.
Every successful drawing is about being able to catch the correct shape of the object. By tracing you can do it absolutely effortlessly while learning and practicing.
I would like to make one point clear here and, that is: Tracing is never cheating! Be easy about it. Yes, tracing paper is also one of the excellent drawing tools – instruments.
2. HB Pencil

click on the image to enlarge
HB pencil is probably the most popular hardness of a pencil, because it is neither too soft nor too hard. It allows you to draw a large variety of pencil drawings and sketches and, is excellent for shading.
3. 0,5mm HB Sharp Pencil
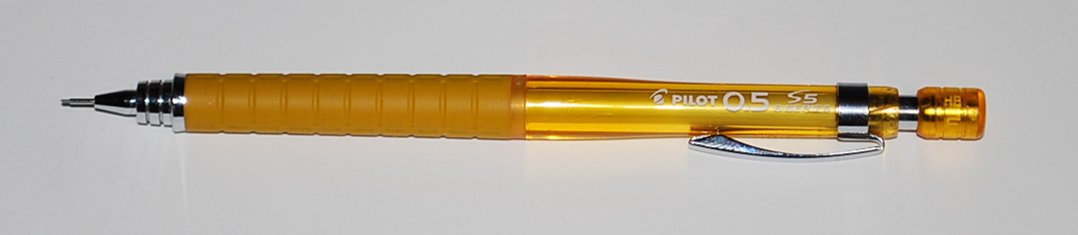
click on the image to enlarge
A sharp pencil is one of an indispensable drawing tools used in technical drawing and architecture. But it is also very useful in artistic drawing. The biggest advantage is that you do not need to sharpen it. Refills are very cheap too.
Things to be careful while choosing your sharp pencil is, to select the light one with plastic body. There are sharp pencils with metallic made body and (in my opinion) they are a bit heavy for artistic drawing. You need a light pencil in your hand not a heavy piece of metal stick.
Different case is if you would use it for technical drawing. There, it is quite helpful because you draw only by ruler and the weight of the pencil helps you to stabilize your hand.
4. Pen Shaped Eraser
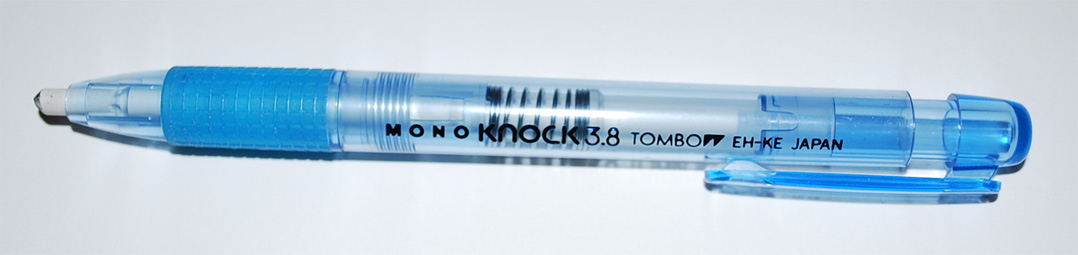
click on the image to enlarge
I am not sure if the “Pen-Shaped-Eraser” is the correct name for this thing, but the picture tells you what I mean. Among many types and shapes of erasers choose for your drawings and sketches something like this. It is tremendously helpful, because the size of the eraser is always slim and that is what you need almost always.
In your drawings or sketches you often need to erase narrow parts on the drawing so that you won’t damage or blur the good part. It is very difficult to do it with the traditional piece of eraser. So, in order to make your drawing work easy it is better to have one like this.
Eraser is also an excellent drawing tool. It is just this type of eraser by which you will be able to highlight the bright spots on your drawings easily. You can “draw by eraser” the shining parts in human hair or animal’s fur; it is tremendously useful when you draw grass or other plants.
5. Standard Plastic Eraser
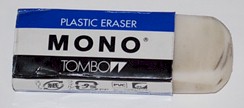
I think this type of eraser needs not to be introduced. You are already very familiar with this. However, among importance of drawing tools it comes next to pencil, e.i. second important thing ;-)
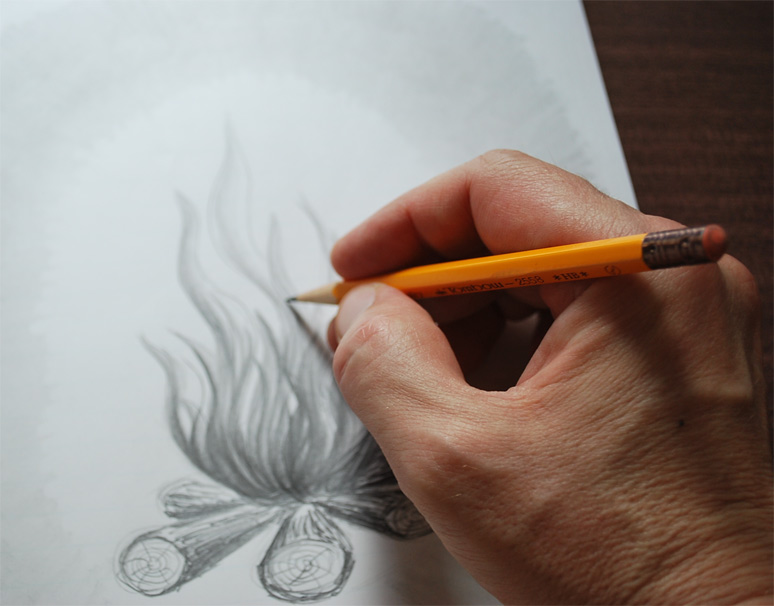
6. Pencil Grips
click the image to enlarge
Loose Pencil Grip is very convenient when you draw approximate lines or while you sketch.
click the image to enlarge
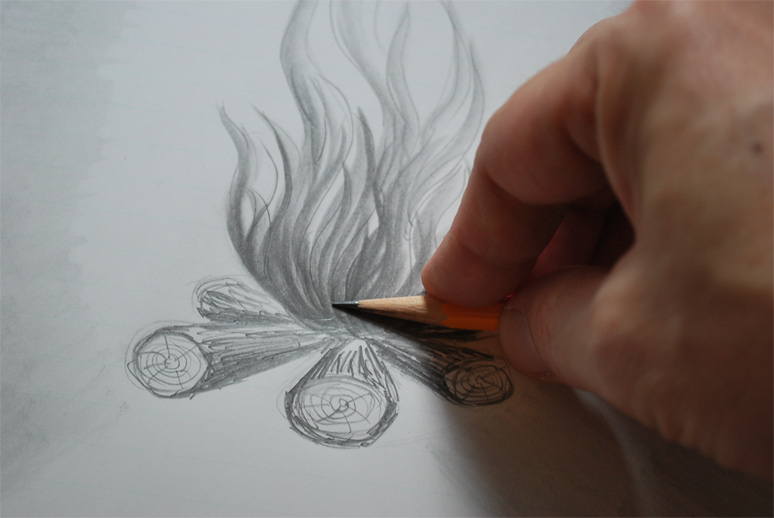
Tilted Pencil Grip; this is tremendously helpful drawing technique you should absolutely get familiar with. I recommend this technique in almost every drawing or sketch.
click the image to enlarge
By using Tilted Pencil Grip you will simply draw nearly perfect lines from the very initial sketch.
I would say, holding your pencil tilted gives you confidence. Try it and you’ll see the results. It works!
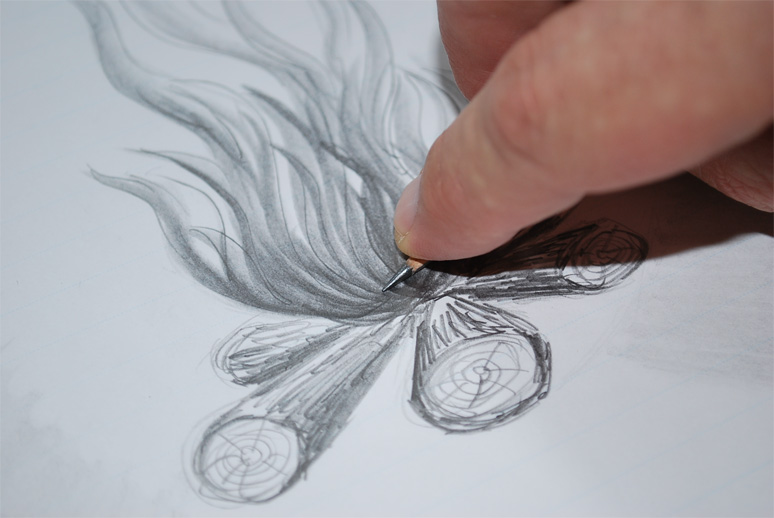
click the image to enlarge
Writing grip helps you to mark out or to outline more exact lines or contours.
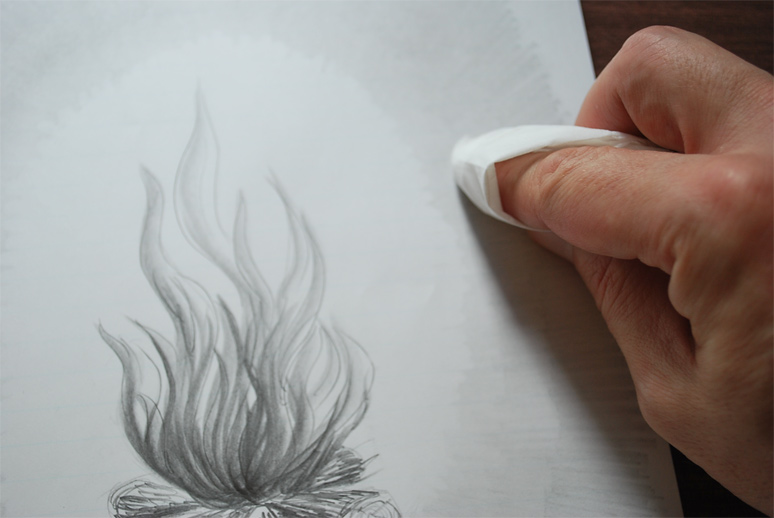
7. Tissue Paper & Cotton Swab
click the image to enlarge
Yes, tissue paper or cotton swabs are also excellent drawing tools. When you want to un-sharp the pencil strokes and blur or blend some parts on your drawing, use a piece of tissue paper or cotton swab.
If you do not have tissue paper or cotton swab available, use the tip of your fingers.


